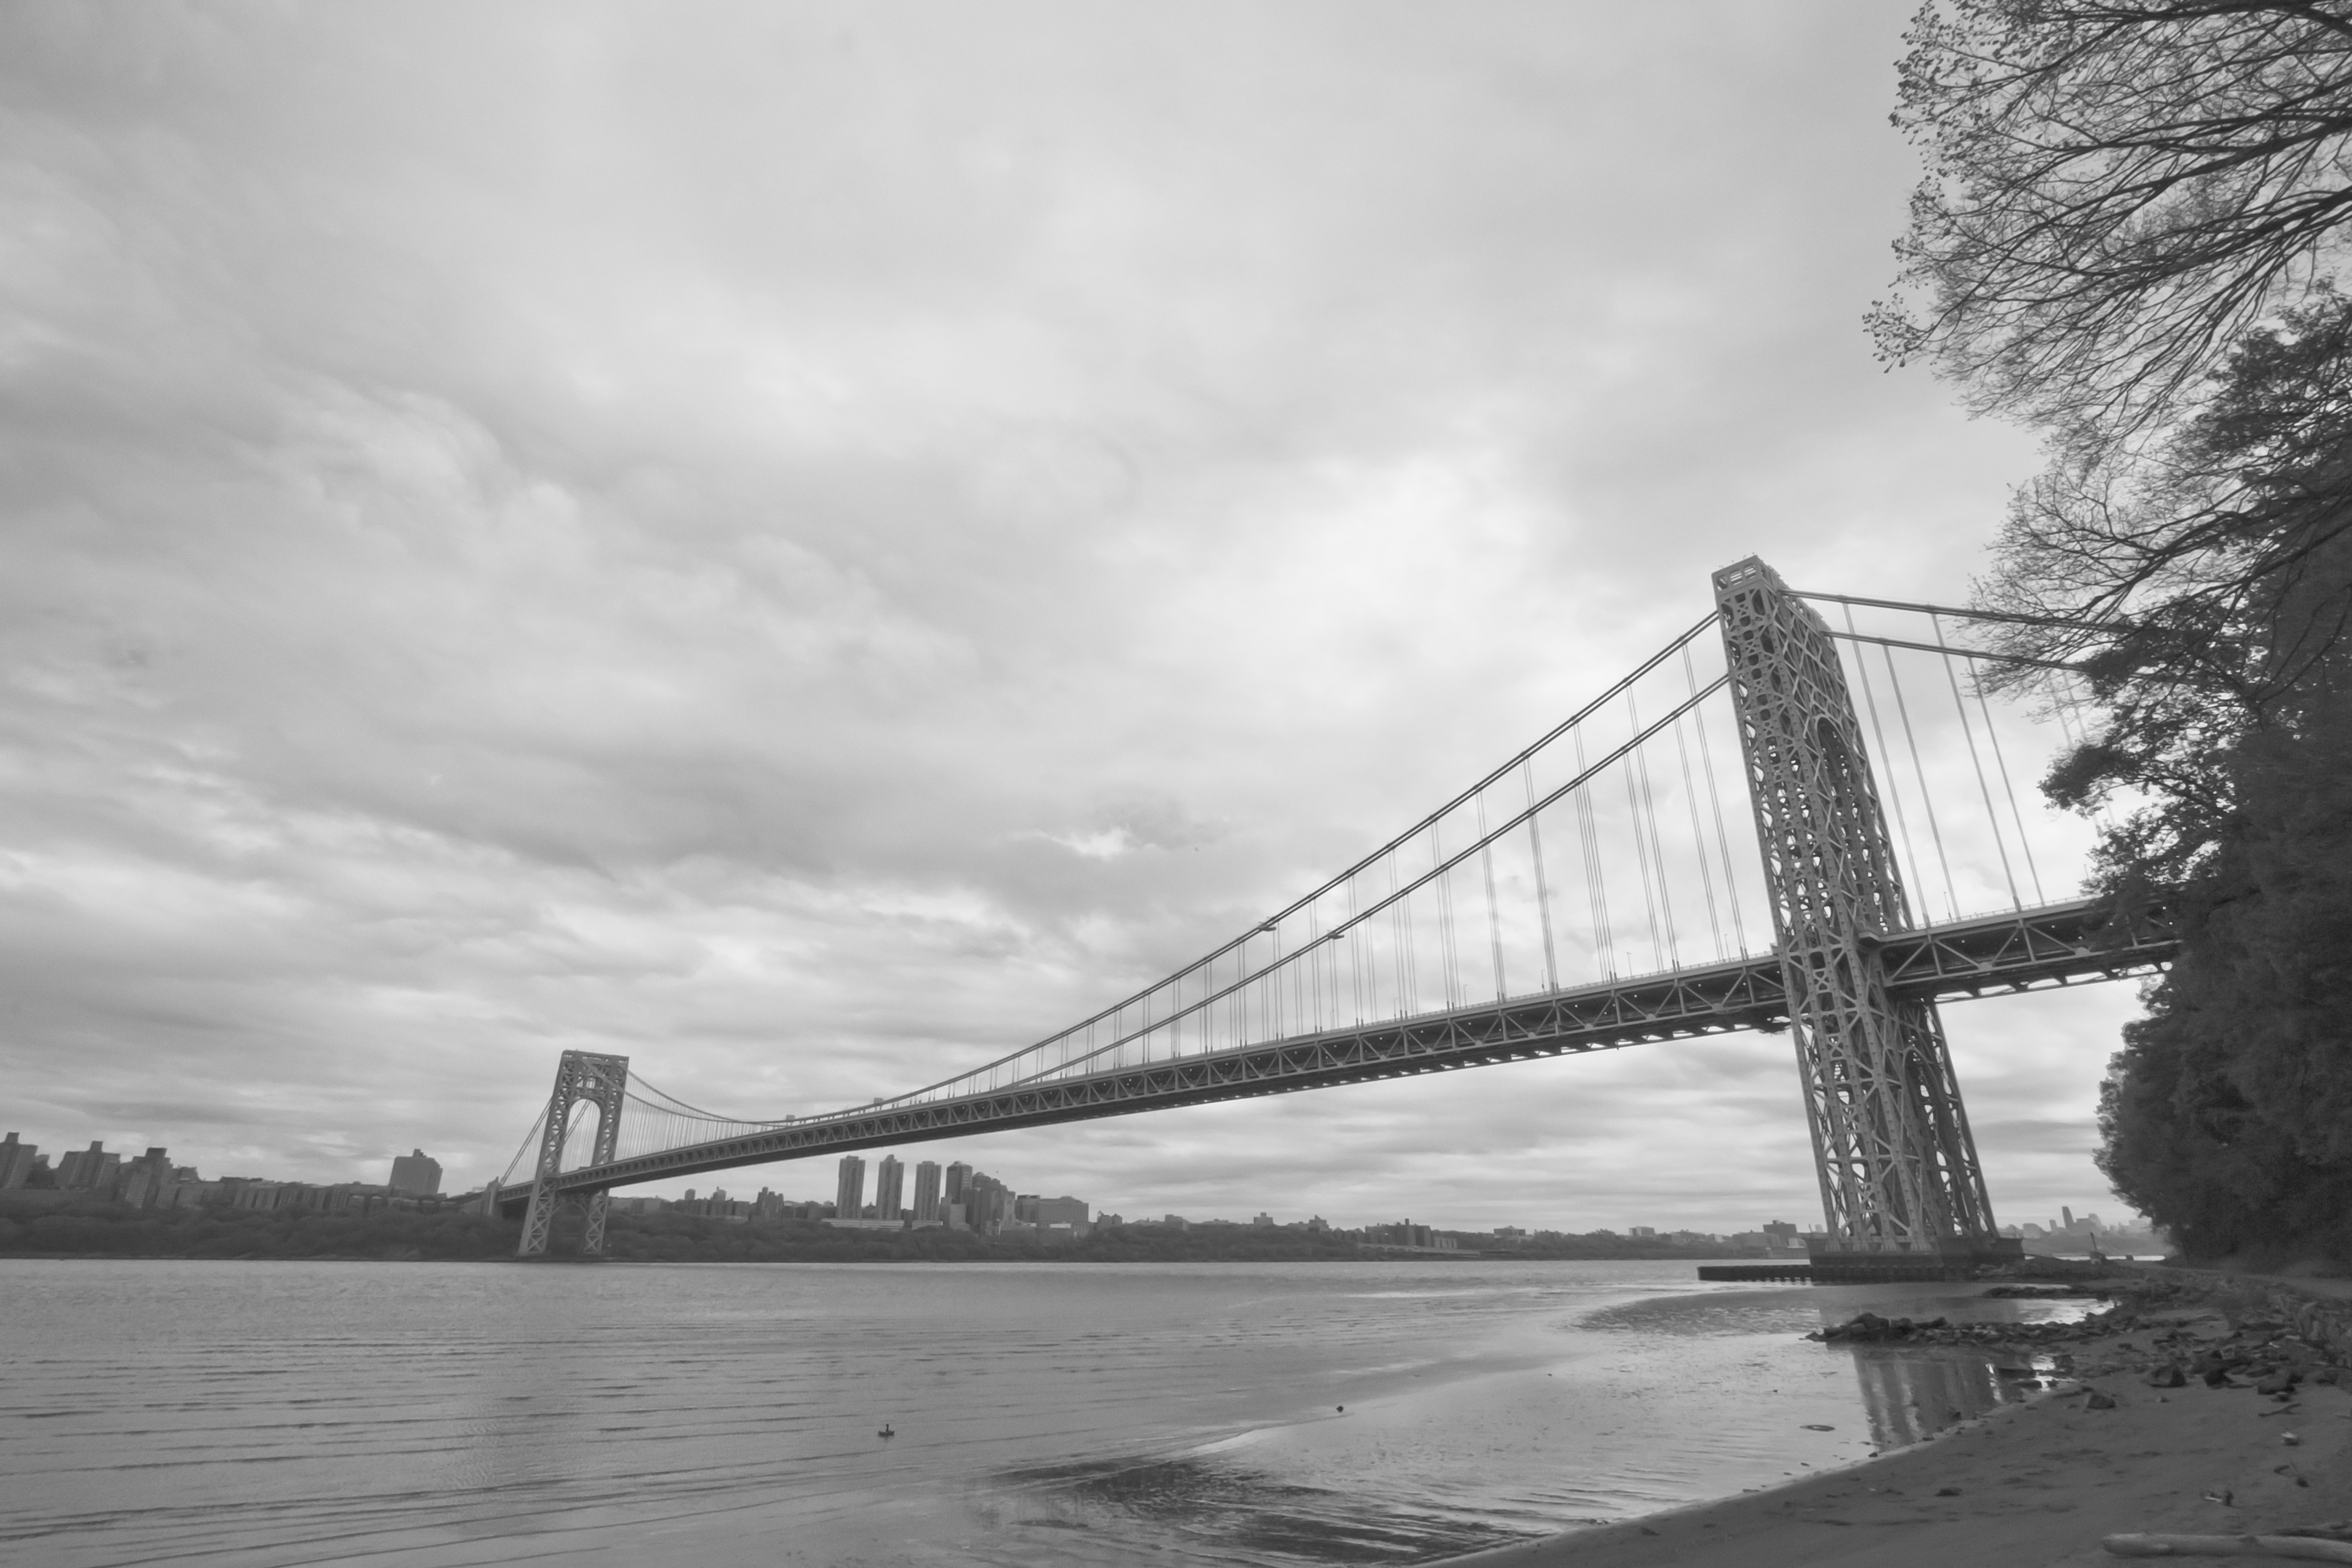
One of my favorite locations to shoot year round is the Palisades Cliffs. The Hiking trails along the top and the boat basins along the bottom are filled with beautiful photo ops. One path that I follow multiple times a year begins at the Woman’s Federation Monument, a small Castle which allows access to its roof, and follows North along the cliffs. There are multiple locations that look absolutely stunning.
You’ll walk over the Palisades Interstate Parkway and down a path. The Woman’s Federation Memorial is a short walk along the path. Left side of the fork. This area can be muddy, so make sure you’re wearing good hiking boots.
Should you prefer to avoid hiking, Henry Hudson Drive provides some beautiful views at their picnic areas and boat basins. The Alpine Boat basin features views of the cliffs and the City and the Englewood Boat Basin features a stunning view of the George Washington Bridge.
Photos by Alfred Hess
Great Places to Photograph are locations compiled by Bergen County Camera customers and employees. These are all fun, entertaining, and relaxing locations that are optimal for shooting. Want more great spots to shoot? Look here for all of our recommendations. Have a great spot of your own that you would like to share? Email it to us or leave a comment!
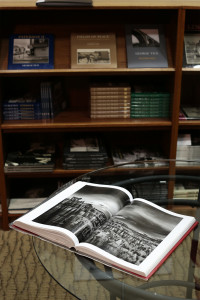
Most photo books are only printed in small quantities, often less than 5000 and some as few as 1000 copies. Some individual artist made books are made one at a time. Most well printed photo books accrues additional collectible status when it is a first edition and or signed by the artist. All the major auction houses like Swann, Christies and Sotheby’s run regular auctions dedicated to photo books. Truly affordable works of art when first released, individual books can rise quickly and dramatically in value as the small quantity sell out.
They make the perfect gift for those difficult to buy for. Pick a subject, person, or time in history and chances are we have a beautiful photo book that’s topical and strikes a resplendent chord for an individual. Since we are music fanatics here, you could guess that we represent some of the finest photographers in the world of music. We have a great selection of their books, many of which have been signed.
Photography collecting is widely misunderstood to be very limited to only those whose bank accounts stretch to seven or more figures. Many people that I speak to about fine art photography collecting believe that they must make a bold move like purchasing a museum grade Ansel Adams photograph to enter the field and nothing could be further from the truth. I believe that photography collecting is very democratic and can start with nothing more then a deep love for the medium. It is a very natural extension that’s easily accessible to all who enjoy any aspect of picture making themselves.
The photography field has so many niches that photo books offer an almost universal appeal. Stop in at Bergen County Camera or Gallery 270 to check out our large selection of photo books.
Nikon, Canon, Leica, Fuji, Olympus, Panasonic, or Sony is only part of the question.
The right digital camera is not the same camera for everyone and with so many choices, finding the right camera can become frustrating quickly. We all look for the camera to be just the right size and to take a good looking image. These two categories can be used to break down your choice for the right camera.
The Right Size
Compact Point and Shoot Cameras are the smallest in size. They are designed to fit in your pocket and function as easily as possible. These cameras are small and convenient, but lack image quality compared to larger cameras.
Super Zoom Point and ShootCameras are larger in size, but do not have changeable lenses. These cameras are convenient and provide extremely large ranges of zoom, but lack in image quality and low light performance. Some Super Zoom Point and Shoot cameras have low aperture lenses, which provide better performance in low light situations.
Compact System Cameras are interchangeable lens cameras which are designed to be smaller in size. They feature a range of sensor sizes from slightly larger then point and shoots to the same size as a Professional SLR.
Consumer SLR cameras are designed to provide better image quality, but are larger in size. With changeable lenses, you have the freedom to improve your camera’s image quality and performance in low light. These cameras require camera bags.
Prosumer SLR cameras are larger then consumer SLR cameras. They deliver higher image quality, quicker burst rates, and improved image quality in low light situations.
Professional SLR cameras are the largest digital cameras. They provide the highest image quality, but are also the largest in size.
The Right Quality
All cameras force us to make a decision between quality and convenience. Large cameras excel in image quality, but carrying a camera bag and additional lenses is inconvenient. Compact Point and Shoot Cameras fit in your pocket, but their image quality is blown away by an SLR. Compact System Cameras are often a nice compromise. They require only a small camera bag and have image quality greatly improved over a Compact Point and Shoot. Check out our article on Sensor Sizes to learn more about the debate of convenience vs. quality.
Built in Lens vs. Changing Lenses
Another aspect of convenience is having one lens built into a camera. While it’s certainly nice to be able to have a long zoom range, there are situations where your lens won’t get you what you want. Changing lenses can get you more zoom, a wider angle, improved low light performance, or a slimmer depth of focus.
One of the more intimidating aspects of photography is understanding what each part of a lenses’ name means. Often intimidation is enough to make most people stick with only the lens a camera comes with or even worse, stay away from cameras with changeable lenses. So I’m going to break down what the name of a common kit lens, the “18-55mm f/3.5-5.6” actually is telling you. The first numbers, 18-55mm, are the focal length. The first number, “18”, is telling you how wide the lens gets. The second, “55”, is telling you how much zoom it gives you. So a “10-24mm” lens gives you more wide angle, but less zoom then an “18-55mm”, and a “70-300mm” gives you far less wide angle, but far more zoom.
The second part of the name, “f/3.5-5.6” is telling you the aperture of the lens. Aperture describes the opening that light comes through on the lens. Learn more about Aperture in our previous post. The lower the number, the greater the amount of light coming through the lens. The more light coming through the lens, the smaller the depth of focus and the quicker the shutter speeds will be. This lens is what’s called a “Variable Aperture Lens”. This means that at the lens’ widest setting, “18mm”, your widest aperture is f/3.5 and at the lens’ maximum zoom, “55mm”, the widest aperture is f/5.6.
As most single lens cameras do not have very wide apertures, their performances in low light situations are not very good. When you invest in a camera, be sure it has a good lens or the ability to improve the lens.
What About Brand?
It certainly would be easiest to say that one brand is better then all the rest, but that simply isn’t true. Whittling down just to the type of camera is difficult. Picking which camera is perfect for you requires getting your hands on several of the cameras in your chosen category. Stop in at Bergen County Camera and we’ll help you choose which camera makes the most sense for you. If you can’t make it in, message us on facebook, or give us a call at (201)664-4113.
There is a misconception about digital photography that the more megapixels, the better the image quality. Most people don’t realize that image quality has to do with both the amount of pixels and the size of the image sensor.
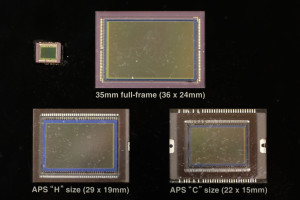
Sensors from different types of cameras. Top left – Typical Point and Shoot Sensor Top Center – Full Frame Sensor Bottom Left – APS-H Sensor Bottom Right – APS-C Sensor
The image sensor in a camera is the digital equivalent of film. Light comes through the lens and hits the image sensor, where millions of pixel wells capture what color of light is entering that location. The larger the sensor size, the larger the pixel wells, the more accurate the information. The higher the megapixel, the more pixel wells, resulting in higher image resolution. Do not confuse image resolution with image quality. The size of the image sensor affects the amount of noise, the depth of focus, and the overall sharpness of the image.
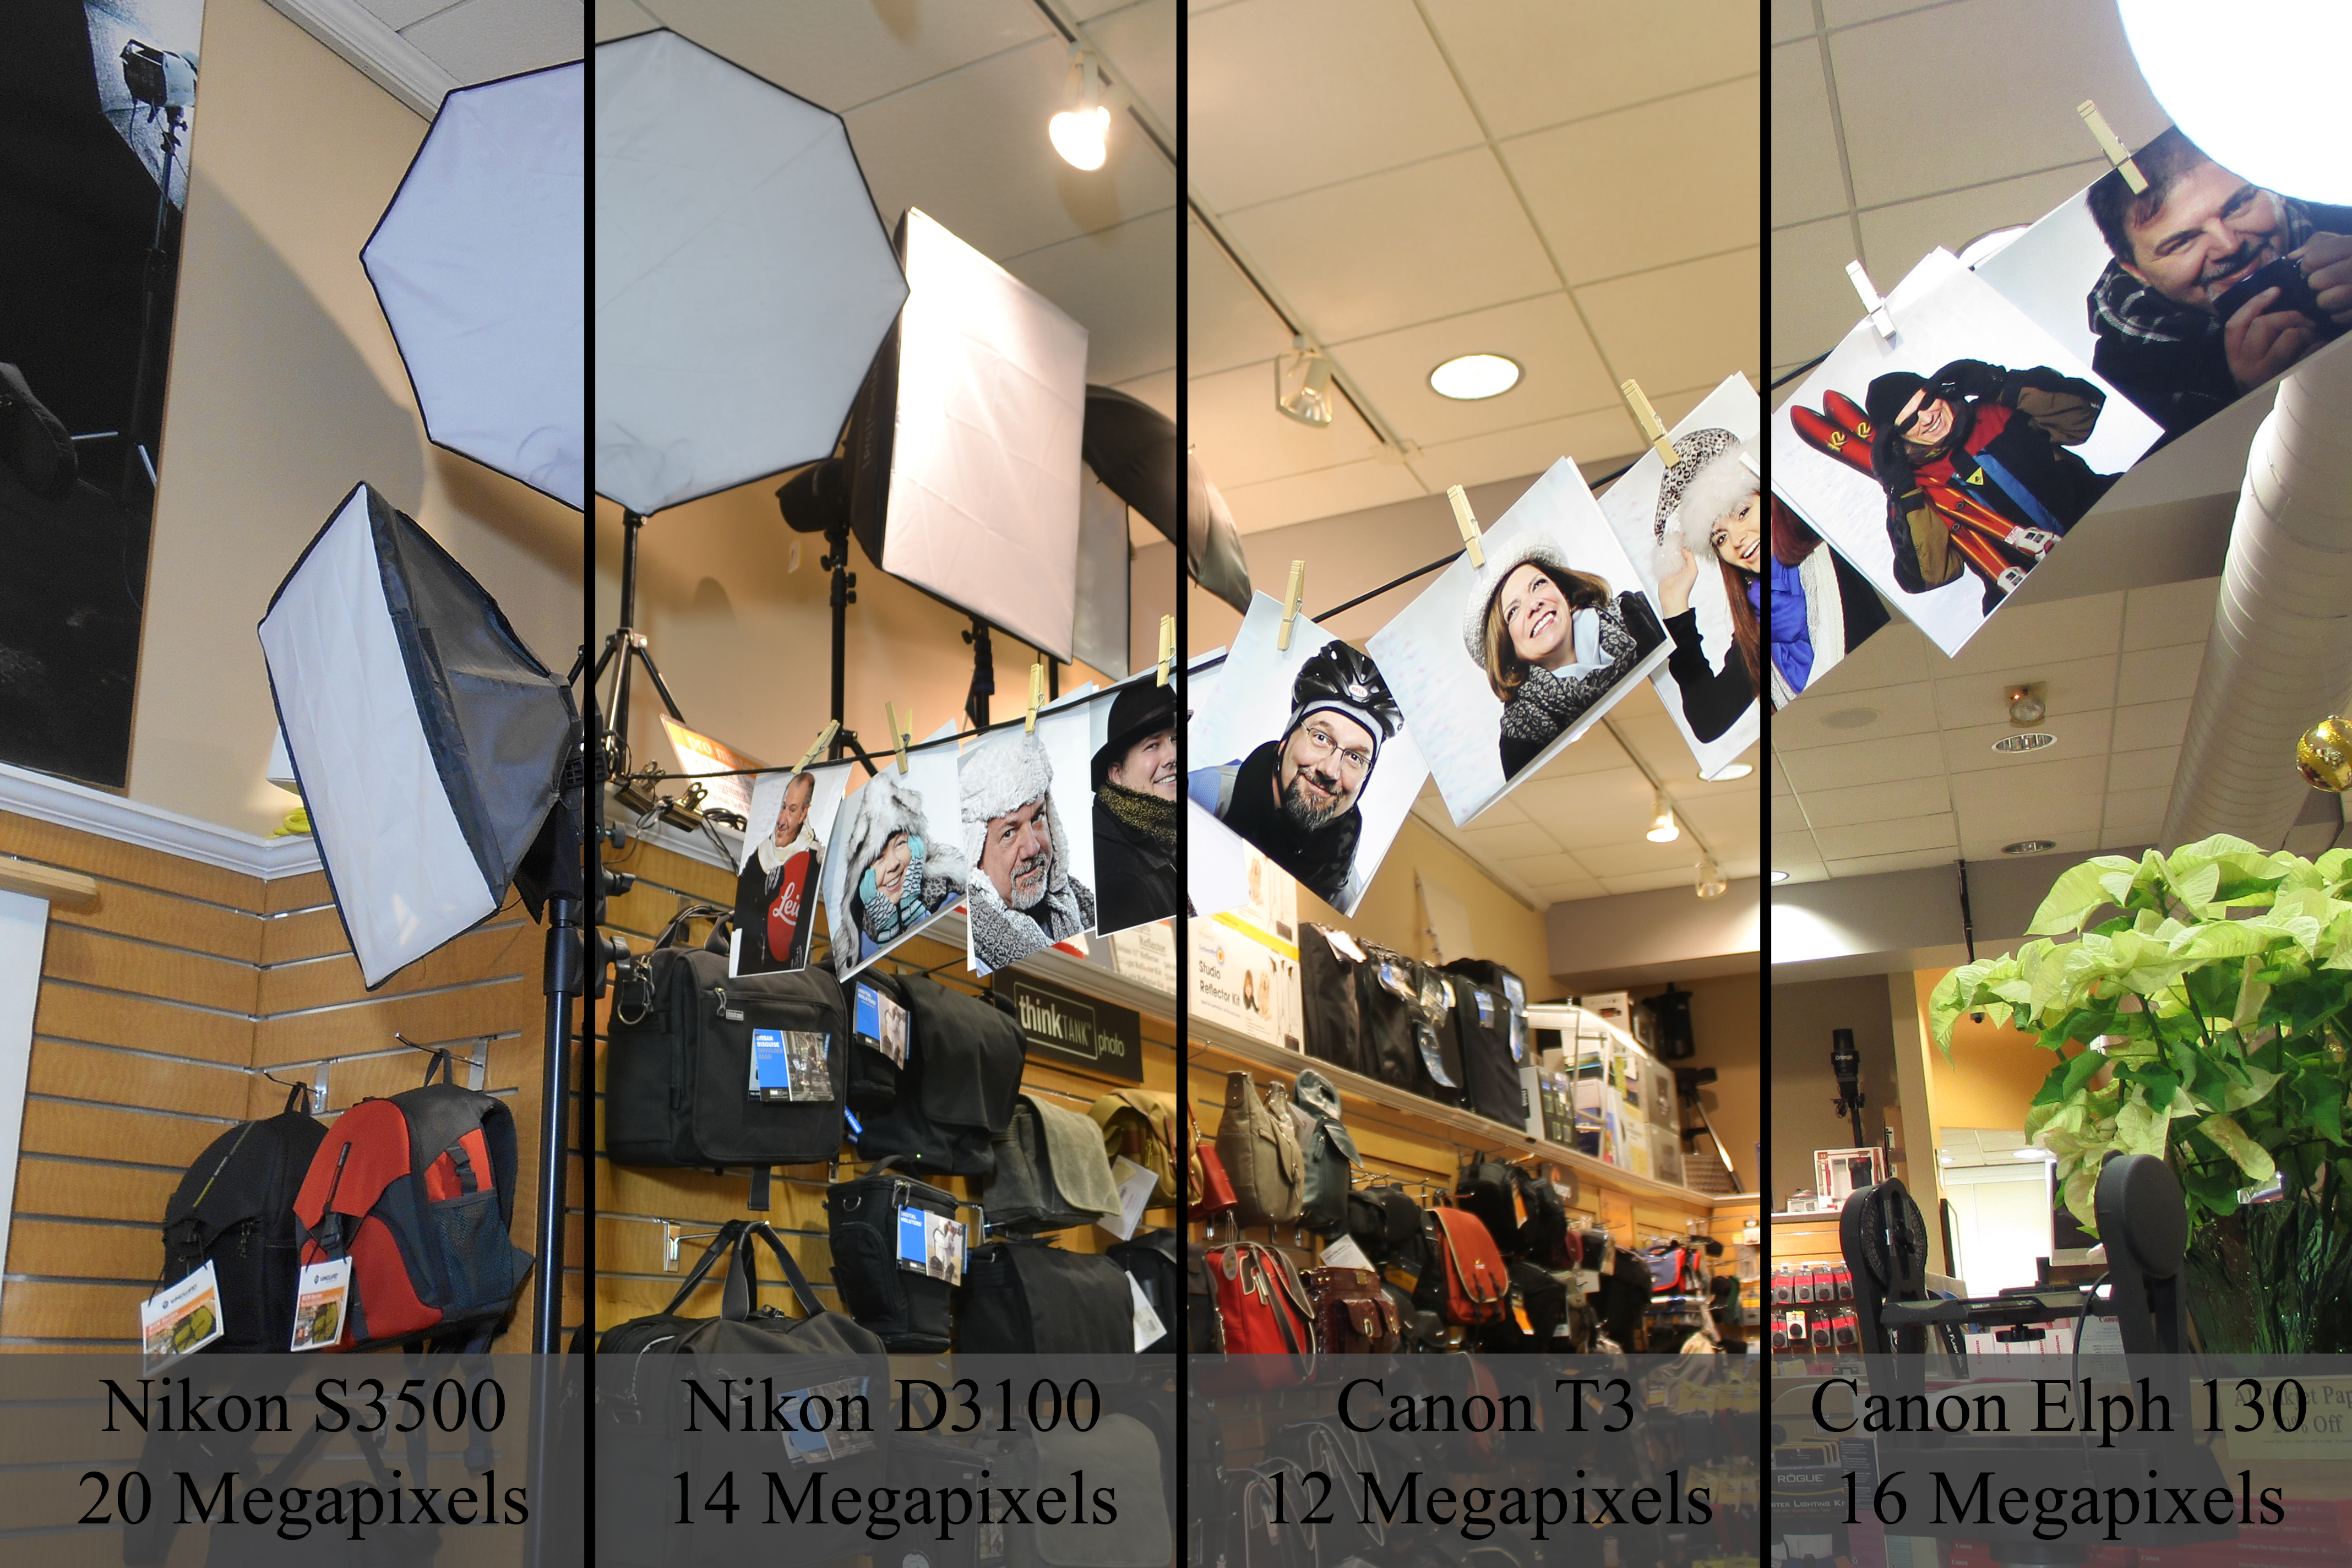
In the photos, we see four different sensor sizes. There are currently around ten different image sensor sizes. We also see the difference in image performance based upon sensor sizes. This comparison shows two high megapixel point and shoot cameras and two lower megapixel SLR cameras. All the photos were shot with near identical camera settings at ISO 100. The images using SLR cameras were shot with their normal kit lens, the 18-55mm f/3.5-5.6. Immediately you can see a difference in clarity, noise, and color.
Comparing High Megapixel Point and Shoot Cameras (Nikon S3500 and Canon Elph 140) with Lower Megapixel SLR Cameras (Nikon D3100 and Canon T3)
So why should you buy a camera with a smaller sensor?
Well, the smaller the sensor, the smaller the camera. It’s definitely convenient to own a camera which fits in your pocket. Plus cameras with smaller sensors can have much greater zoom lengths in an easy, portable size. Current Point and Shoot cameras are still performing better then current cellphones due to the size of their sensors. Point and Shoot Cameras have sensors varying between 1/2.3-inch and Apple iPhone 5s has a sensor which is 1/3-inch. Plus, Point and Shoot cameras have real zoom lenses. Cell phones use digital zoom, which degrades your image quality.
Realize that the larger the camera you carry, the better the image quality. If you are someone looking for quality, look into SLR cameras. Looking for help finding which camera is right for you? Check this post here.
We are excited to announce that we have received our shipment of Go Pro Hero 3+ Silver and Black editions. Quantities are limited so give us a call to reserve yours!
The weather outside is frightful, but the pictures can still be delightful. Online tips not your favorite way of learning? Stop in Saturday, December 21st for our Focus Sesson, “Winter Photography”.
We’ve compiled several previous blog posts filled with tips and tricks to get the best out of your camera this winter.
Shooting in the winter (especially when snowing, sleeting or below freezing) can certainly be a challenge.
Here are a few pointers to make your winter shooting that much easier.
Batteries – The number of frames you can take can drop dramatically the colder it gets especially below 30. When you plan on shooting outside for an extended period of time keep one or two spare batteries in a coat or pants pocket that is warm and close to the body. As soon as your low battery indicator flashes stop shooting and rotate a warm battery into the camera.
Rain, Sleet and Snow – Always keep an inexpensive plastic bag in the bottom of your camera bag. If you get caught out in precipitation simply put your entire camera bag inside and make your way back. If you need to shoot in rain, sleet, or snow you can always purchase an Aquapac or any protective rain-sleeve to protect your camera and lens from damage.
Polarizing Filters – Great for reducing glare especially off of snow and glass. Colors always look better when glare is reduced. Don’t stack your filters and remember to remove your polarizer when it gets darker or you move inside. Always remember – a polarizer can cut the amount of light entering the lens in half ( 1 f-stop).
Hand Warmers – this years addition to the list comes from outdoor sports enthusiasts. Available at most sporting goods stores and for about $2 can keep your hands warm for 4 – 6 hours. Special versions are available to keep your toes warm as well.
Why are my snow pictures dull grey?
Here’s the first in some winter picture taking tips that we are putting together. A common complaint we hear when people bring their winter pictures in is – “my pictures look dull,” “the snow looks grey, not white.” Read on for the short and the long answer.
The picture you see is the one above with white snow . . .
The picture your camera captures has grey snow as shown below.
So the question is – How do I get white snow?
The short answer is you need to overexpose by using the Exposure Compensation +/- feature on your camera. Using the exposure compensation automatically makes this adjustment so your camera still can remain fully automatic. In the case of a Nikon you would press the +/- button while rotating the control wheel until +1.0 shows in the display. Your owners manual will explain this in detail or feel free to stop by the store to learn how to make the settings on your camera. Be sure to take some test shots so you get the hang of how this works. If less of your image is taken up with the snow you can try the + 0.7 or + 0.3 setting to reduce the brightening effect.
After taking your snow photos just remember to turn the exposure compensation +/- back to zero.
The more technical answer
This is all caused by a camera’s meter system which is designed to see “18% grey” ( the solid gray image to the left ). Essentially anytime you take a picture that is predominantly white or black the camera will make the wrong exposure. Since the cameras meter can only see grey, an “average scene”, we only need to make adjustments when our scene is predominantly white or black. Luckily 98% of what most of us shoot are scenes with average lighting values and need no adjustment.
Predominantly white scenes ( think Snow, white sand beaches, clouds )will be moved toward grey so we must over expose from .5 – 1.5 stops to get true white by using the +/-.
Predominantly black scenes ( think black cars, black buildings, black sand beaches )will be moved toward grey so we must under expose .5 – 1.5 stops to get true black by using the +/-.
A future tutorial will explain how to get perfect exposures using a grey card.
Using histograms to further understand
For those familiar with histograms we can further look into diagnosing our exposure. The histograms are shown below with both our camera exposure and with exposure compensation set on + 1.0. Histograms are available in almost any digital camera including point and shoots and most imaging programs like Photoshop Elements.
A histogram is just a map of the tonal values in our image from black (left most point) to white (right most point) with the height representing how much of the image is at a particular level of brightness. Your histogram will look the same in camera and when you open that image up in your imaging program.
^Black Middle^Grey White^
In the grey snow example above our histogram has a good deal of room before the white point on the right so the image represented by this histogram is a shade of grey not white. By overexposing one stop ( +/- +1.0) the camera automatically adjusts and allows 1 extra stop or twice the amount of light. As you can see from the histogram below we still have a small amount of room before the white point (this room indicates we have not blown out our highlights. If this histogram started all the way to the right and did not build to a peak, this would indicate over exposure and blown out highlights. The fix would be to reduce the exposure compensation from +1.0 to +0.7 and check again. The peak will move to the left each time you reduce your exposure. More on histograms in an upcoming tutorial.
What to Do With Christmas Lights
Whether you’re trying to get the perfect shot of your decorated home, taking family photos in front of the tree, or using the lights to get an interesting photo, Christmas Lights can be tricky to photograph. Each situation requires different gear and a different camera set up.
Photographing Your Home
With photos of homes lit by Christmas lights, you’re going to want a closed down aperture, a slow shutter speed, and a low ISO. With a closed down aperture(F/11, f/16), you’ll get plenty of depth of focus so everything from your windows to the trees in the distance will be in focus. The slow shutter speed will allow you to properly expose your image, and the low ISO will keep noise in your photo to a minimum. Because your shutter speed with be slower then 1/60th of a second, you’re going to need a tripod to hold the camera steady. For a unique look, try throwing a colored gel on your flash and setting it off once during the photo.
Photographing your Family In Front of Christmas Lights
To take the best photos involving both your family or another subject in front of Christmas lights involves using a flash. Place the camera on a Tripod and set the flash to rear curtain sync. This will fire the flash at the end of your photo. Allowing a slow shutter speed to expose the lights, then the flash to illuminate your subject in the front of the image. To join the picture, use a wireless remote or set the camera to a 10 second delay.
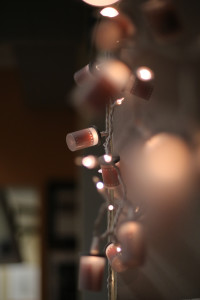
Using Christmas Lights to Create An Interesting Photo
BCC Employee Juline Moreland’s creative recycling of film canisters says both “Happy Holidays” and “Don’t Forget Your Camera”.
One of my favorite aspects of Christmas lights, are how they look when they fall out of your depth of focus. Each small bulb becomes an otherworldly glowing ball of light. Use a lens with a wide aperture (f/1.8, f/1.4) to allow only a sliver of focus in your image. Thus creating an interesting and beautiful background to your subjects.
We hope you’ll enjoy this beautiful weather, but remember to stay safe. Should you have any questions of comments feel free to stop in at Bergen County Camera, comment on this post, or message us on our Facebook page.
Quarkie headphones, recently featured in Huffinton Post’s Weird Holiday Gift Guide are now in stock at Bergen County Camera. The headphones pair amazingly clear audio with a unique and eye catching twist from the norm. Available styles include chameleon eyes, green vipers, yellow vipers, purple gemstones, yellow snakes, or rusty bolts.
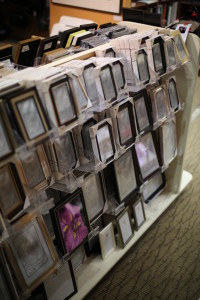
Bergen County Camera and Gallery 270 owner, Tom Gramegna, recently was interviewed by The Bergen Record about matting and framing photos. Check out the article featured on the front cover of the Homes Section and continued on Page 7. Bergen County Camera stocks a wide selection of both frames and mattes in a variety of sizes, colors, and materials. Plus, this holiday season, all table top frames are buy 2 get 20% off, buy 3 get 30% off! If you purchase a print with us, all mattes are also 10% off. Remember “It’s not a photograph until it’s printed.”